
11 Tips for Shooting Stunning Underwater Footage
Expert Advice for Capturing Marine Magic
Capturing stunning underwater footage is an exciting blend of artistry and technical skill. For avid divers and photographers, the underwater world offers a unique and visually captivating environment, filled with vibrant marine life and mesmerizing seascapes. For those aspiring to create breathtaking underwater videos, understanding the fundamentals of shooting beneath the surface is essential.
Mastering underwater videography requires not only a good eye for composition but also a keen grasp of camera settings, lighting, and movement. Proper preparation and practice can transform ordinary underwater scenes into extraordinary cinematic experiences. With the right techniques and tools, anyone can elevate their underwater footage to professional levels, creating captivating content that showcases the hidden beauty of the ocean.
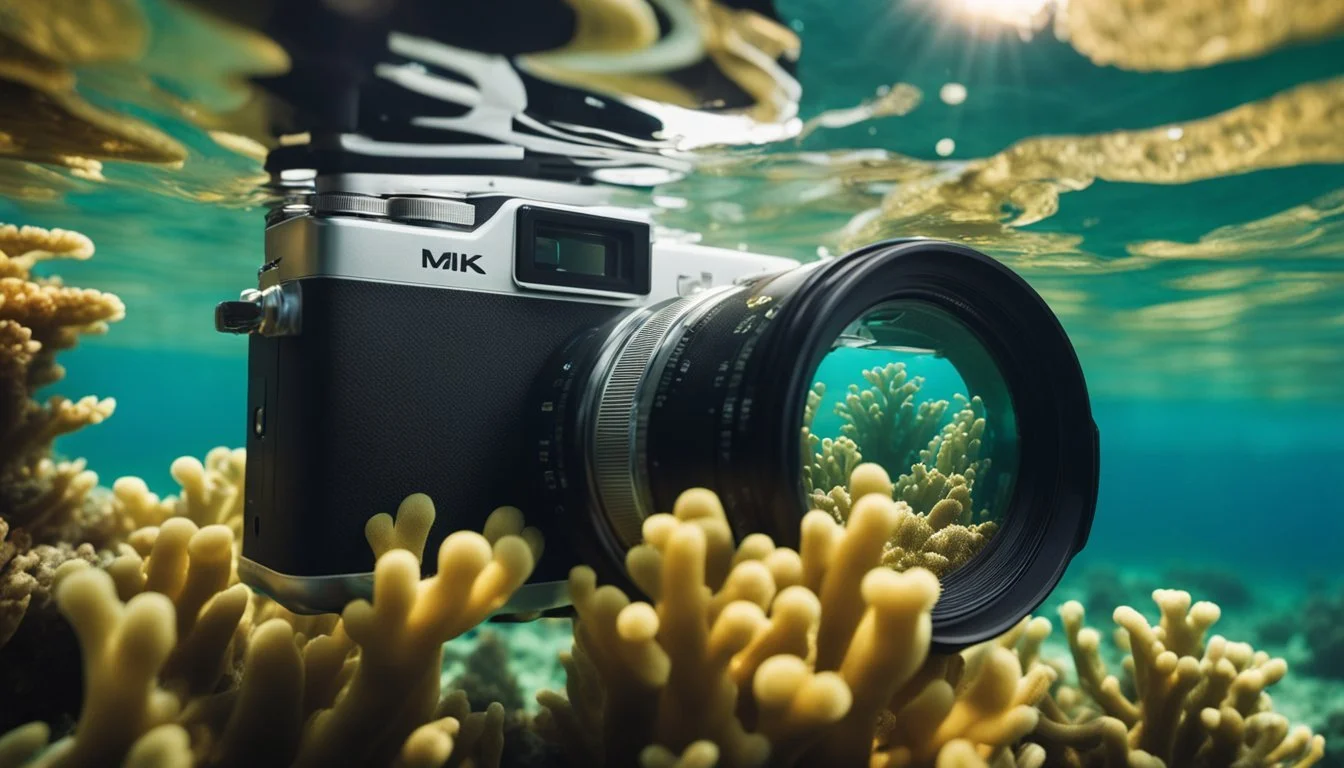
1) Use a high-quality underwater camera
Investing in a high-quality underwater camera is crucial for capturing stunning underwater footage. Cameras like the GoPro HERO 11 and HERO 12 are popular choices due to their advanced features.
These cameras offer impressive built-in video stabilization, making it easier to shoot 4K Ultra High Definition videos.
Compact design and point-and-shoot simplicity enhance the user experience. Waterproof capabilities up to 33ft/10m eliminate the need for additional housing for shallow dives, ideal for snorkeling or other water sports.
HyperSmooth 5.0 stabilization technology helps keep your footage steady even if the camera undergoes rotations. Amateur and professional underwater photographers will find these features indispensable when aiming for high-quality results.
2) Master Buoyancy Control
Mastering buoyancy control is fundamental for capturing stunning underwater footage. Proper buoyancy allows the diver to maintain stability and position in the water, crucial for sharp, clear shots. This skill also reduces the risk of disturbing marine life or stirring up sediment, which can cloud your shots.
To achieve neutral buoyancy, divers should practice adjusting their buoyancy through their breathing patterns and buoyancy control device (BCD). Fine-tuning these adjustments helps maintain a constant depth without unnecessary movement, ensuring a stable filming environment.
Regular practice is key. Spend time in the water perfecting your ability to hover and maneuver with ease. Developing this control ensures smoother motion shots and the ability to hold positions for still images without drifting.
Pay attention to your weights. Correctly balanced weights are essential for achieving and maintaining neutral buoyancy. Make adjustments based on your gear, wetsuit, and the saltiness of the water you’re diving in.
Environmental awareness also plays a role. Conditions such as currents, surges, and waves can affect buoyancy. Being aware of these factors and learning to compensate for them can help maintain stability and control during filming sessions.
Remember, mastering buoyancy control not only enhances your footage but also makes your dive safer and more enjoyable. Developing this skill takes time and practice, but the rewards are worth the effort.
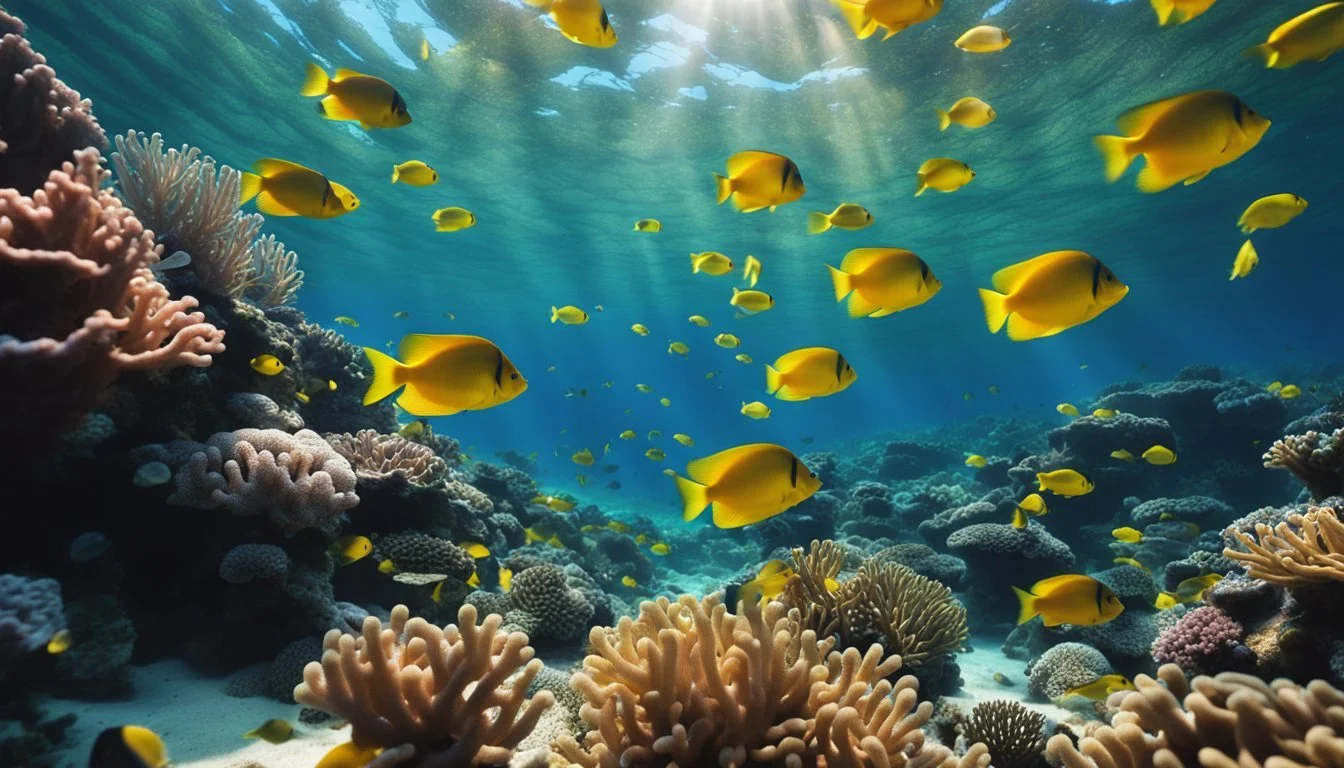
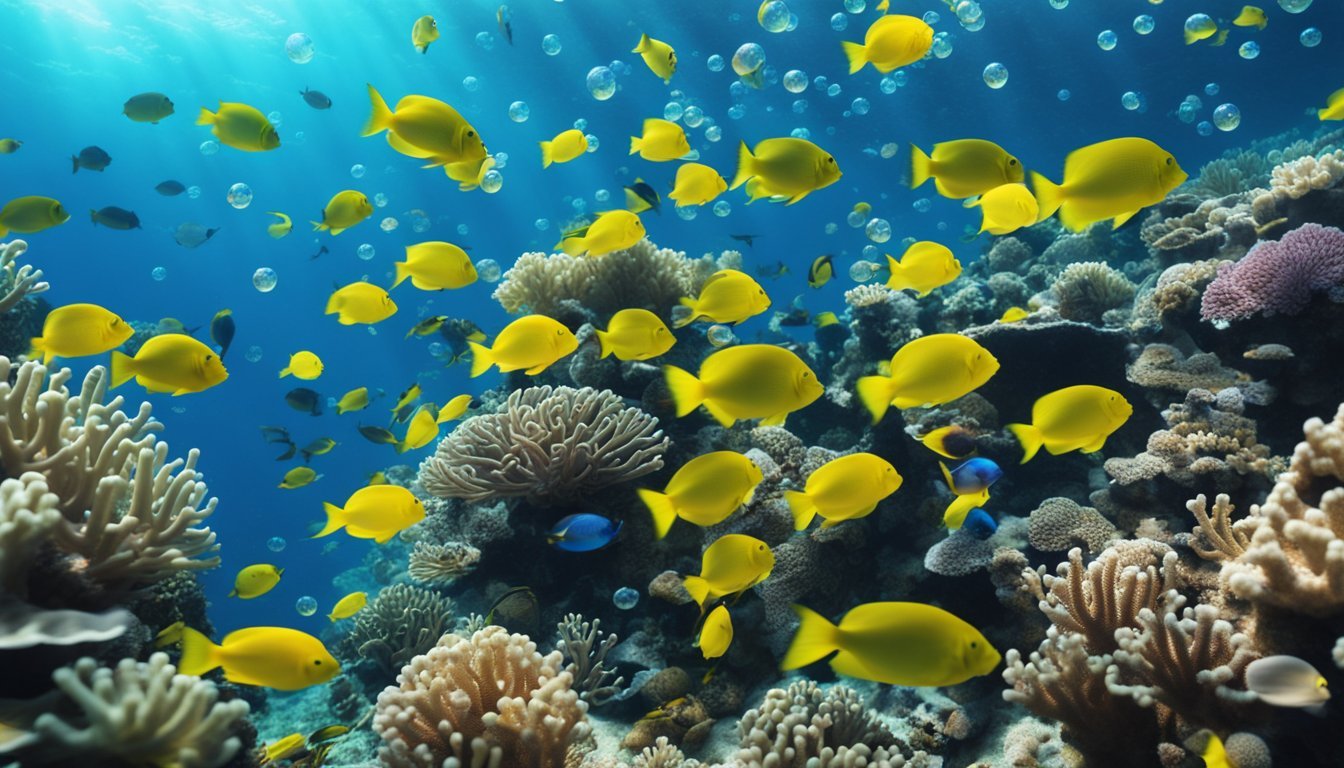
3) Utilize Natural Light
Natural light is crucial when capturing underwater footage. It can dramatically enhance the colors and details of your videos. Position yourself with the sun behind you to illuminate your subject effectively.
Shoot during midday when the sun is at its highest. This provides the best lighting conditions, reducing shadows and enhancing visibility underwater.
Take advantage of shallow waters. Natural light penetrates better and colors are more vivid at shallower depths. Use this to your advantage, especially when filming close to the surface.
Consider the clarity of the water. Clear water allows more natural light to penetrate, improving footage quality. Plan your shoots in locations known for high water clarity.
4) Get Close to Your Subject

Getting closer to your subject can significantly enhance the quality of underwater footage. The water between the camera and the subject can cause distortion and reduce clarity.
By reducing this distance, you minimize water distortion and improve the detail and sharpness of your shots.
Fish, coral, and even divers look much better when the camera is close. This technique also reduces the amount of floating particles that can obscure your shot.
Being closer helps in maintaining better lighting on the subject. Natural light tends to dissipate quickly underwater, so close proximity ensures the subject is well-lit, making colors more vibrant.
In addition, proximity allows for better control of the composition. It offers the opportunity to capture intricate details that would otherwise be missed from a distance.
If using a GoPro Hero 11 or Hero 12, take advantage of its excellent video stabilization and high resolution to get crisp, close-up shots. Remember, while it’s crucial to get close, always maintain a safe distance to avoid disturbing marine life.
5) Shoot in Clear Water
Choosing the right water conditions is crucial for high-quality underwater footage. Clear water ensures that your shots come out sharp and vibrant.
Murky or cloudy water can obscure details and affect color accuracy. To avoid this, shoot in places known for their clear water, such as tropical reefs or well-maintained pools.
Visibility can vary with weather and tides, so check local conditions before diving. Pre-planning your shoot around optimal weather and tide patterns increases the likelihood of clear water.
Utilizing natural light is more effective in clear water. It allows the GoPro to capture true-to-life colors and minimizes noise in your footage. Clear water also enhances stabilization by reducing the visual distortions caused by particles.
Lastly, maintaining a safe distance from moving sediment or other divers can prevent water from becoming clouded. This practice keeps the water clear and helps achieve crisp, professional-looking shots.
6) Use Color Correction Filters
Color correction filters play a crucial role in underwater videography. Water absorbs light differently than air, primarily filtering out red and orange wavelengths first. This often results in footage that looks overly blue or green.
By using red or magenta filters, divers can restore the natural colors lost at depth. Red filters are typically used in blue water, while magenta ones are suited for green water.
These filters help achieve more vibrant and realistic footage. They enhance contrasting colors and bring warmth back into the imagery, creating more visually appealing content.
It’s important to match the filter to the specific depth and water conditions. Shallow waters may require different filters compared to deeper dives.
Experimentation with different filters and settings can yield the best results. Adjusting the white balance in post-production can complement the use of filters, further enhancing color accuracy.
Filters are a simple yet effective tool to improve the quality of underwater videos. Investing in a good set of color correction filters can significantly enhance the end result.
7) Keep the lens clean
Maintaining a clean lens is crucial for capturing stunning underwater footage. Any smudges or debris on the lens can distort your images and videos, leading to disappointing results. Before each dive, wipe the lens with a microfiber cloth to ensure it is free from fingerprints and dust particles.
Saltwater can leave residue on the lens, which may cause blurry visuals. Rinse the lens with fresh water after every dive. This simple step helps to remove salt deposits and other impurities that may have accumulated.
For added protection, consider using an anti-fog solution. Apply it to the lens before diving to prevent condensation from forming, especially in colder waters. This ensures clear and sharp footage every time.
8) Stabilize the camera
Stabilizing your camera is crucial for clear underwater footage. The GoPro HERO 11 and 12 are equipped with HyperSmooth stabilization. This feature ensures that even in turbulent water, your videos remain smooth.
For best results, activate HyperSmooth. This technology compensates for the natural movement of water, reducing shakiness.
Holding the camera with both hands can provide additional stability. Using a rig or a tray mount helps maintain steady shots.
Remember to adjust settings before diving. Horizon Lock keeps footage stable, even if the camera rotates. This is especially useful for capturing dynamic scenes.
If you're shooting in fast-moving water, consider higher frame rates. This makes motion appear more fluid and less jerky.
9) Plan your dives
Efficiently planning your dives is essential for successful underwater footage. Knowing the dive site's layout and potential points of interest helps avoid unnecessary backtracking. Check for information about currents, visibility, and potential obstacles.
Time your dive to coincide with optimal light conditions. Early mornings often provide the best natural light. Additionally, consider the tidal schedule, which can significantly impact underwater visibility.
Brief your dive team on shooting goals to ensure everyone knows their roles. Clear communication reduces missteps and maximizes footage quality. Always have a backup plan in case weather or water conditions change unexpectedly.
Preparing equipment in advance and performing all necessary checks reduces complications during the dive. Ensuring cameras are securely fastened and settings are optimized saves time and effort underwater.
10) Maintain Communication Signals
Using hand signals is essential for divers to communicate underwater. Whether coordinating shots or ensuring safety, clear and consistent signals prevent misunderstandings.
Each diver should be familiar with standard signals. These include basic commands like "ascend," "descend," and "okay." Practice these signals before diving to ensure efficient communication.
To enhance communication, divers can also use underwater writing slates. These are especially useful for conveying complex instructions or discussing unexpected situations.
Maintaining eye contact is equally important. It ensures that signals are seen and understood, enhancing coordination among diving team members.
Effective communication boosts safety and creates better opportunities for capturing stunning underwater footage. It's a vital skill that shouldn't be overlooked.
11) Use Slow-Motion Settings
Using slow-motion settings can add dramatic effects to underwater footage. This technique allows viewers to appreciate details they might miss at normal speed.
GoPro HERO models, like the HERO 11 and HERO 12, offer slow-motion capabilities. These cameras can record at frame rates such as 60fps and 120fps. Higher frame rates translate to smoother slow-motion playback.
When capturing underwater scenes, switching to 120fps can make fast-moving marine life appear more graceful. Slow-motion can highlight the elegance of fish movements or water currents.
Adjust the resolution to 4K if the camera supports it. This ensures the footage remains sharp and detailed even when slowed down. Keeping the camera steady while filming is crucial to avoid blurry results.
Lighting plays a significant role in slow-motion footage. Underwater scenes can be dim, so using underwater LED lights can brighten the shot. Proper lighting helps maintain clarity and sharpness.
Experimenting with different frame rates allows for creative underwater sequences. Changing up from regular speed to slow-motion within the same video can create engaging and dynamic visual stories.
Essential Gear for Underwater Filming
Successful underwater filming requires selecting the right camera, housing, and lighting. Each component plays a critical role in capturing stunning footage beneath the waves.
Choosing the Right Camera
For underwater filming, the camera should excel in low-light conditions and offer features like high resolution and frame rates. Popular choices include the GoPro HERO 11, known for its HyperSmooth stabilization, and DSLR or mirrorless models with underwater capabilities. Key features to look for:
High-resolution video (4K or higher)
Good low-light performance
Reliable stabilization
Special Features such as a built-in waterproof design can simplify setup, while ruggedness and battery life ensure longevity during extended shoots.
Waterproof Housing and Accessories
Waterproof housing is essential for protecting cameras from water damage. High-quality housing should be rated for the depths you'll be filming at and provide easy access to camera controls. Consider these elements:
Depth rating: Ensure it can handle the depth you plan to dive.
Material quality: Opt for durable, corrosion-resistant materials.
Access to controls: Make sure it's easy to use underwater.
Additional accessories such as lens ports, moisture absorbers, and mounting systems can enhance functionality and ensure secure and effective filming sessions.
Lighting Equipment
Proper lighting transforms underwater footage by reducing blue tones and enhancing colors. Underwater lights should be powerful, with wide beams to cover more area. Important features:
High brightness rating: Measured in lumens.
Wide beam angle: Aids in covering large areas.
Durability and battery life: They should withstand underwater conditions and last through your shoots.
Color filters and diffusers can help achieve the desired color balance and softness, making lighting a crucial part of your gear list.
Techniques for Clear and Stable Footage
Achieving clear and stable footage underwater involves managing buoyancy, reducing camera shake, and properly framing your shots. These techniques ensure your footage is visually appealing and professional.
Maintaining Buoyancy
Proper buoyancy control is crucial for stable footage. Divers should achieve neutral buoyancy so they can hover without sinking or floating. This stability allows for smooth camera movements and reduces the likelihood of stirring up sediment. Using weight belts or integrated weight systems helps find the right balance.
Practicing buoyancy control regularly enhances effectiveness. Divers can refine their skills by adjusting their breathing patterns and using buoyancy control devices (BCDs). Efficient buoyancy management not only improves video quality but also conserves energy and air, extending dive times.
Minimizing Camera Shake
Minimizing camera shake is essential for clear footage. One effective method is to use a stabilizing rig or tray with handles. These accessories provide a stable grip, reducing the impact of minor hand movements. Investing in underwater housings with built-in stabilizers can also greatly enhance shot stability.
When filming, divers should tuck in their elbows close to their body. This stance limits arm movement and improves control. Additionally, shooting during calm conditions—avoiding strong currents—helps maintain steadiness. Combining these practices ensures smooth and professional-looking video results.
Framing and Composition
Framing and composition make a significant difference in underwater footage quality. Divers should get low and shoot upwards to create dynamic and engaging perspectives. This technique enhances the sense of depth and scale, making subjects appear more dramatic.
Using the rule of thirds to position subjects off-center enriches visual interest. Avoiding cluttered backgrounds by choosing simpler, contrasting settings highlights the main subject. Lastly, divers should utilize natural light effectively, positioning themselves to take advantage of sunlight angles, which can significantly improve image quality.
Maintaining clear and stable underwater footage requires focusing on buoyancy, reducing shake, and careful composition. Applying these specific techniques will result in visually appealing and professional-quality underwater videos.